Friday, November 2, 2018


Excited to share the news!!!

I am apart of the FSJ/Spellbinder Creative Coop!!! Soooo much crafting fun in one place!!! Order through the affiliated link or directly through me (better deal there!)


***Please do no hestiate to email me when you place an order! I have no way of knowinh who orders and would love to send a thank you your way!!**

But, I couldn't stop there!!
I became a Creative Memories Advisor!! The scrapbooking products are beautiful and will pair well with family photos! Memories need to be captured!!!


And then, I couldn't resist getting on the ground level of a growing affiliated crafting program RGStudio360! Richard offers both digis and stamps!! I will post more soon!! ;-)
Follow me along on my crafting adventures! I cant wait to create with ALL of these products individually and see how well they can blend together!

Email: thecraftyladybug86@gmail.com

***FSJ/Spellbinders and RG studios 360 use cookies!!**

Tuesday, October 23, 2018

Hydrangea Bloom Mask Off Project

Hello Again! It's Amanda, The Crafty Ladybug and Welcome Back to my Craft Nook!!!

I told y'all I love masking off!


 The sense of depth that can be created will make them "oooh" and "ahhh"!
It seems technical but its super simple!!

I stamped the hydrangea bloom (Bloom Burst Stamp Set) at least twice on copy paper and fussy cut those images out. I also stamped a few leaves and fussy cut those as well. I didn't bother with the stem this time.

I used Pretty Amethyst True Fusion Ink and stamped the first bloom at the bottom center. Don't be afraid to stamp off the page either!


Then covered it with the prepared mask and stamped on either side using Beach Breeze.


I continued masking and stamping to creating a border but left the right area open. I also stamped a few leaves and placed the masks where needed. 

Next comes the color! I brought out all of the Pan Pastels there were in the blue, purple, and green families. Going from dark to light I shaded each petal and leaf.

Hint** Areas that have direct light leave those areas "colorless". Meaning don't add PanPastels... Let the color of the paper show**


I created a soft sky using the palest of blues and white for the background...


In the upper hand right corner, I stamped the "thinking of you" sentiment.

Oh and had to splatter some Sparkle Silk for a little extra glitz.


I love how this project turned out! 

Sunday, October 14, 2018

Masking off

Hello!! It's Amanda, the Crafty Ladybug and Welcome to the Craft Nook!! 


One of my favorite techniques is "masking off". Its rather simple but requires some prep work.


Stamp the desired image onto a post it note or copy paper.


 Fussy cut the image out. (The closer to the outside line the better). Depending on your project you may need more than one "masked image". 
Note... If you didn't use paper with a sticky back a glue dot or washi tape rolled up on will work. Remember the masked images are temporary and will need to be removed. 

Then you are ready to work on the actual project.

For starters I picked the Cottage Bouquet stamp set. Daises are a favorite of mine and I couldn't resist creating a small field of them.


Black and white was on my mind but one could easily add color.

I tend to begin stamping somewhere off centered.
Stamp the image...


Then place the mask on top of the first image.
**Lining up the images is necessary if you want crisp edges...


Once the mask is in place then stamp another image.


Repeat this process and move masks where and as needed...


Pace yourself and think the layout through. ;-) 
Masking off gives a sense of depth to your piece. The overlapping of images lets the eye believe that objects are staggered on the page. Items are in front of one another. An easy way to create depth without adding extra layers...


Oh and keep those masked pieces! They maybe covered in ink but you can so use them again!!

Thursday, October 11, 2018

Tag Trio Video


O goodness! I had some many retakes of the voice over I finally gave up... By then, two precious girls decided it was a good time to have a squealing match. Memories.. 🤣

More videos to come...
Slowly like a herd of turtles!!

Tuesday, October 9, 2018

Trio Tag Set

Hello! 
I'm Amanda, the Crafty Ladybug and Welcome Back to my Craft Nook! 


I featured the Tag Trio as my Make and Take at my Open House earlier in August, 2018. I have debated on what should be my "first" offical blog. I decided why not share with you the fun M&T. The tag features items from both the BIG catalog and Holiday Mini.
I selected the blue/green floral piece came from the Good Life Prints I created three tags using the (Steel Rule Tag Set). It has three different size tags and I decided to use each one.


The smallest tag... The floral side was the base. I added a Riverstone colored fence (Winter Build-A-Scene Die Set), stamped Your Wonderful sentinment (Text Happy Stamp Set) in Black Licorice, and added a few loops of WhipCream Thread.


The medium sized tag... Used the blue/white dotted stripe sized as the base. Splattered Beach Ball Silk then trimmed and  adhered the Limeade Splash scalloped border piece (Winter Build-A-Scene) near the middle of the tag. Added some loops of WhipCream Thread and an oval in Riverstone stamped with Never Give Up sentiement (Text Happy Stamp Set) with Black Licorice Ink. Flicked sparkle silk as a finishing touch.


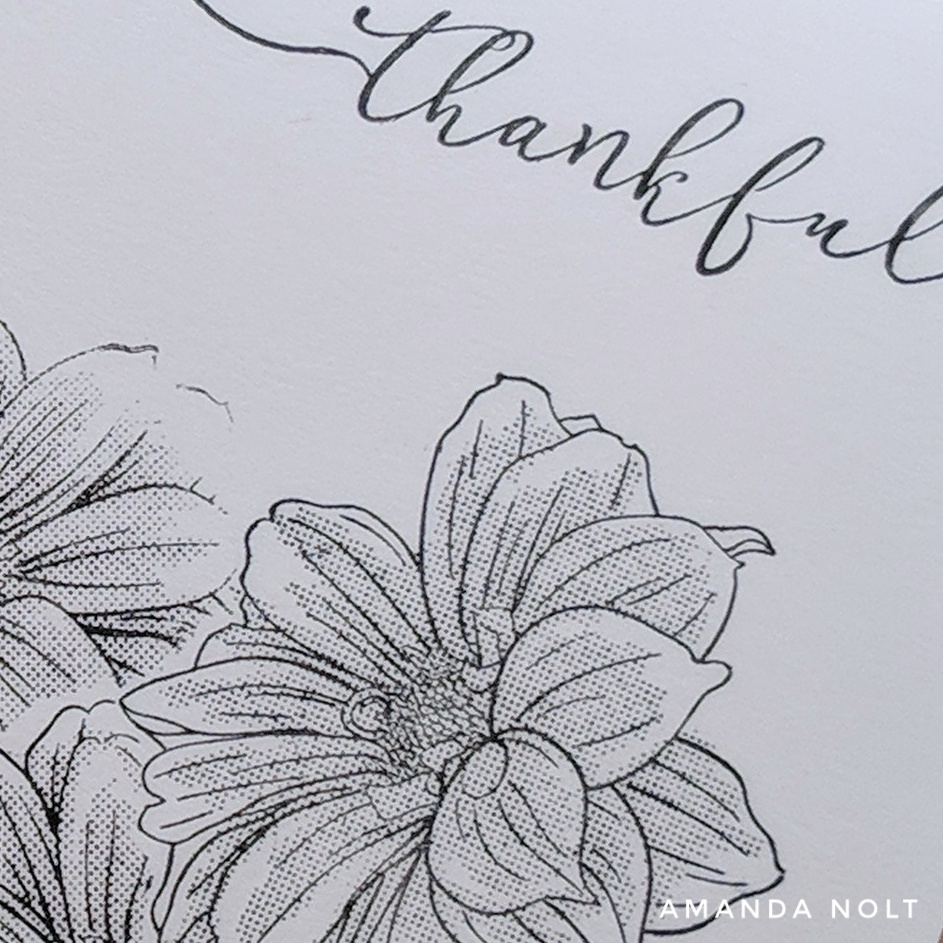
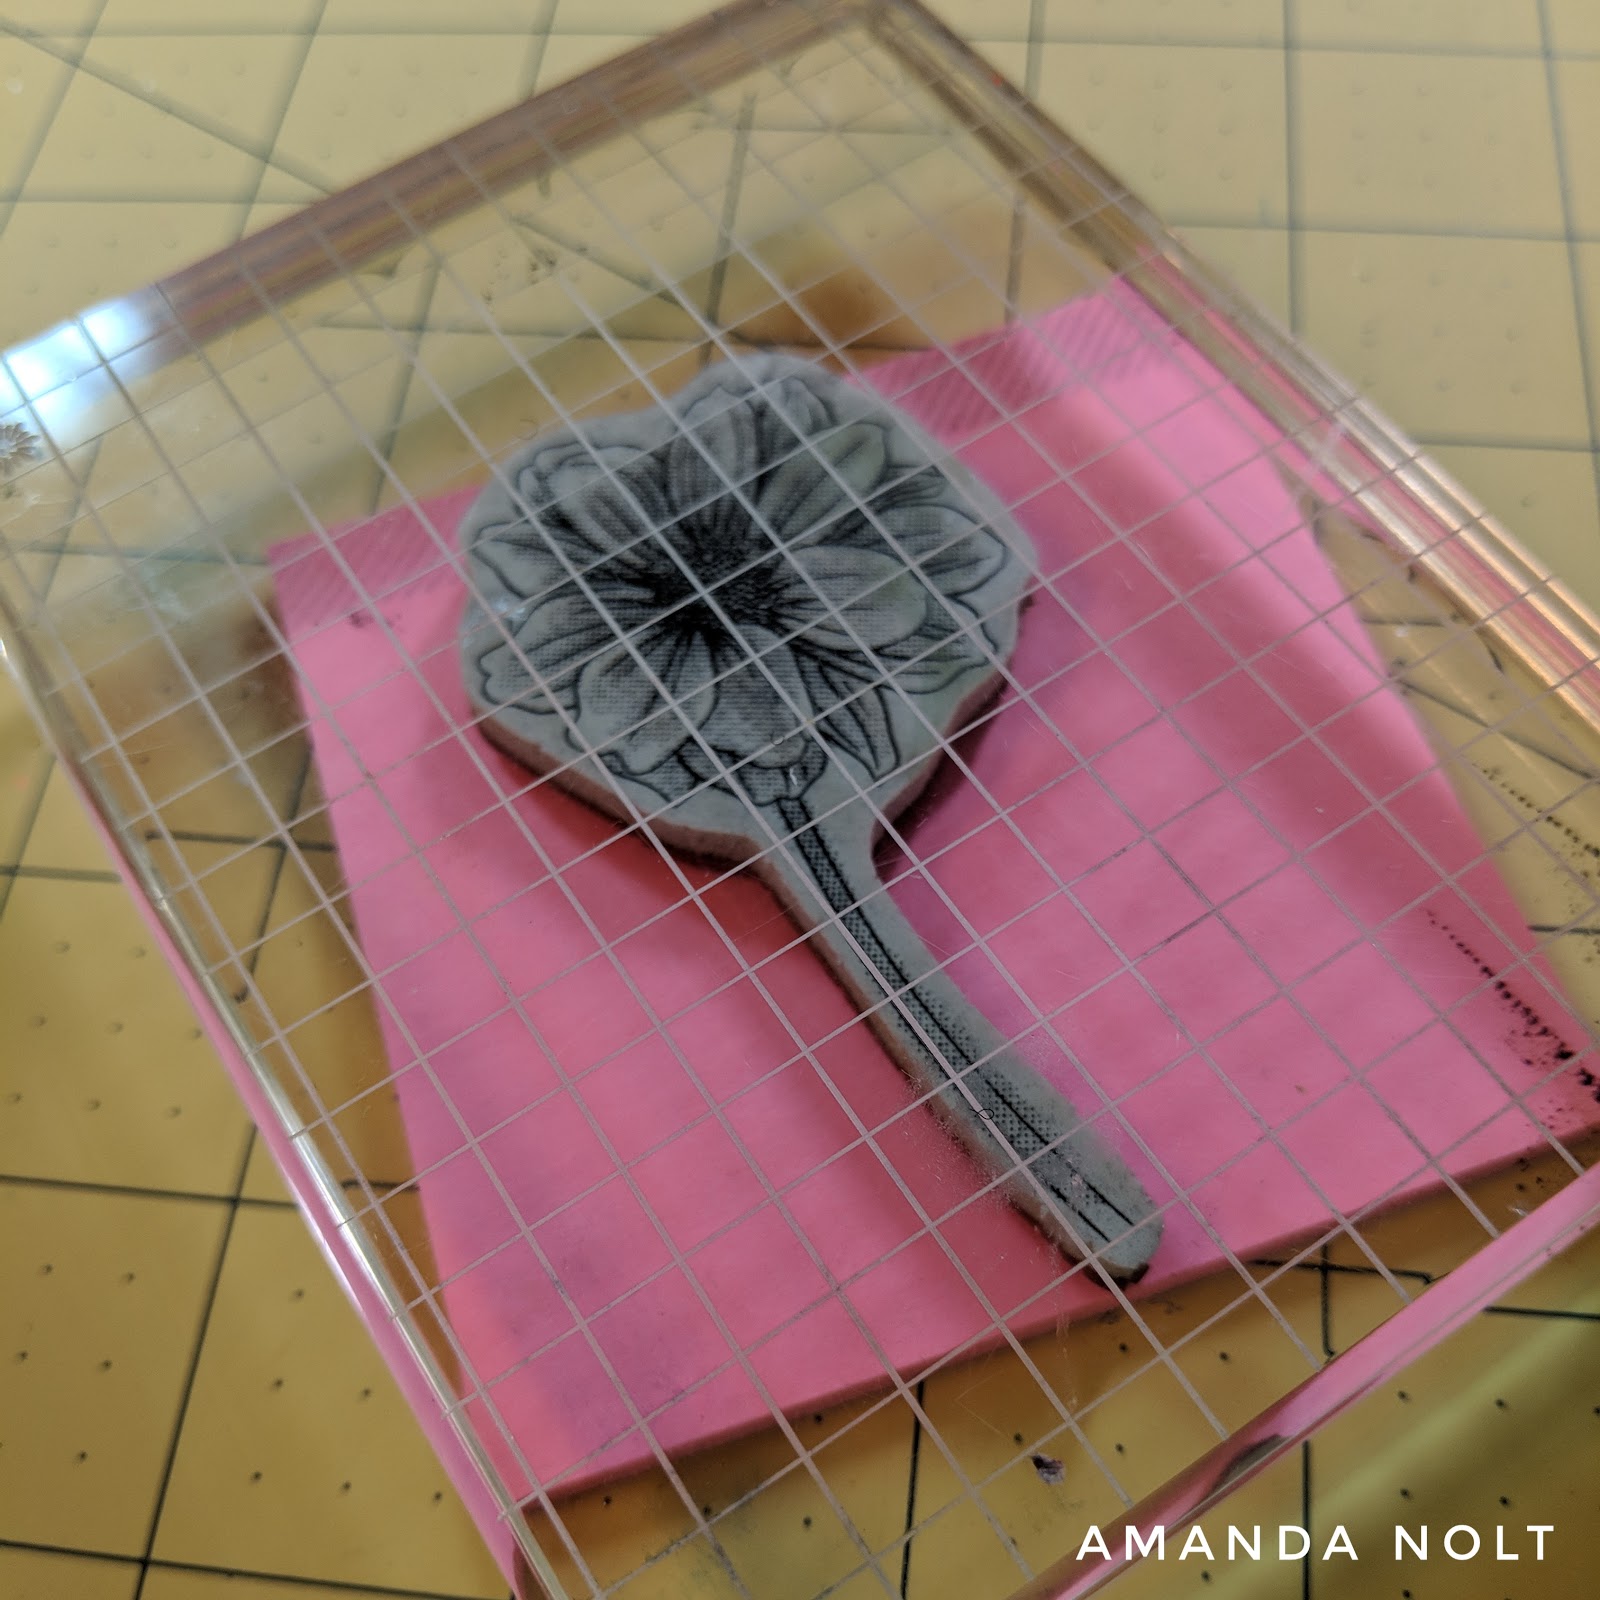
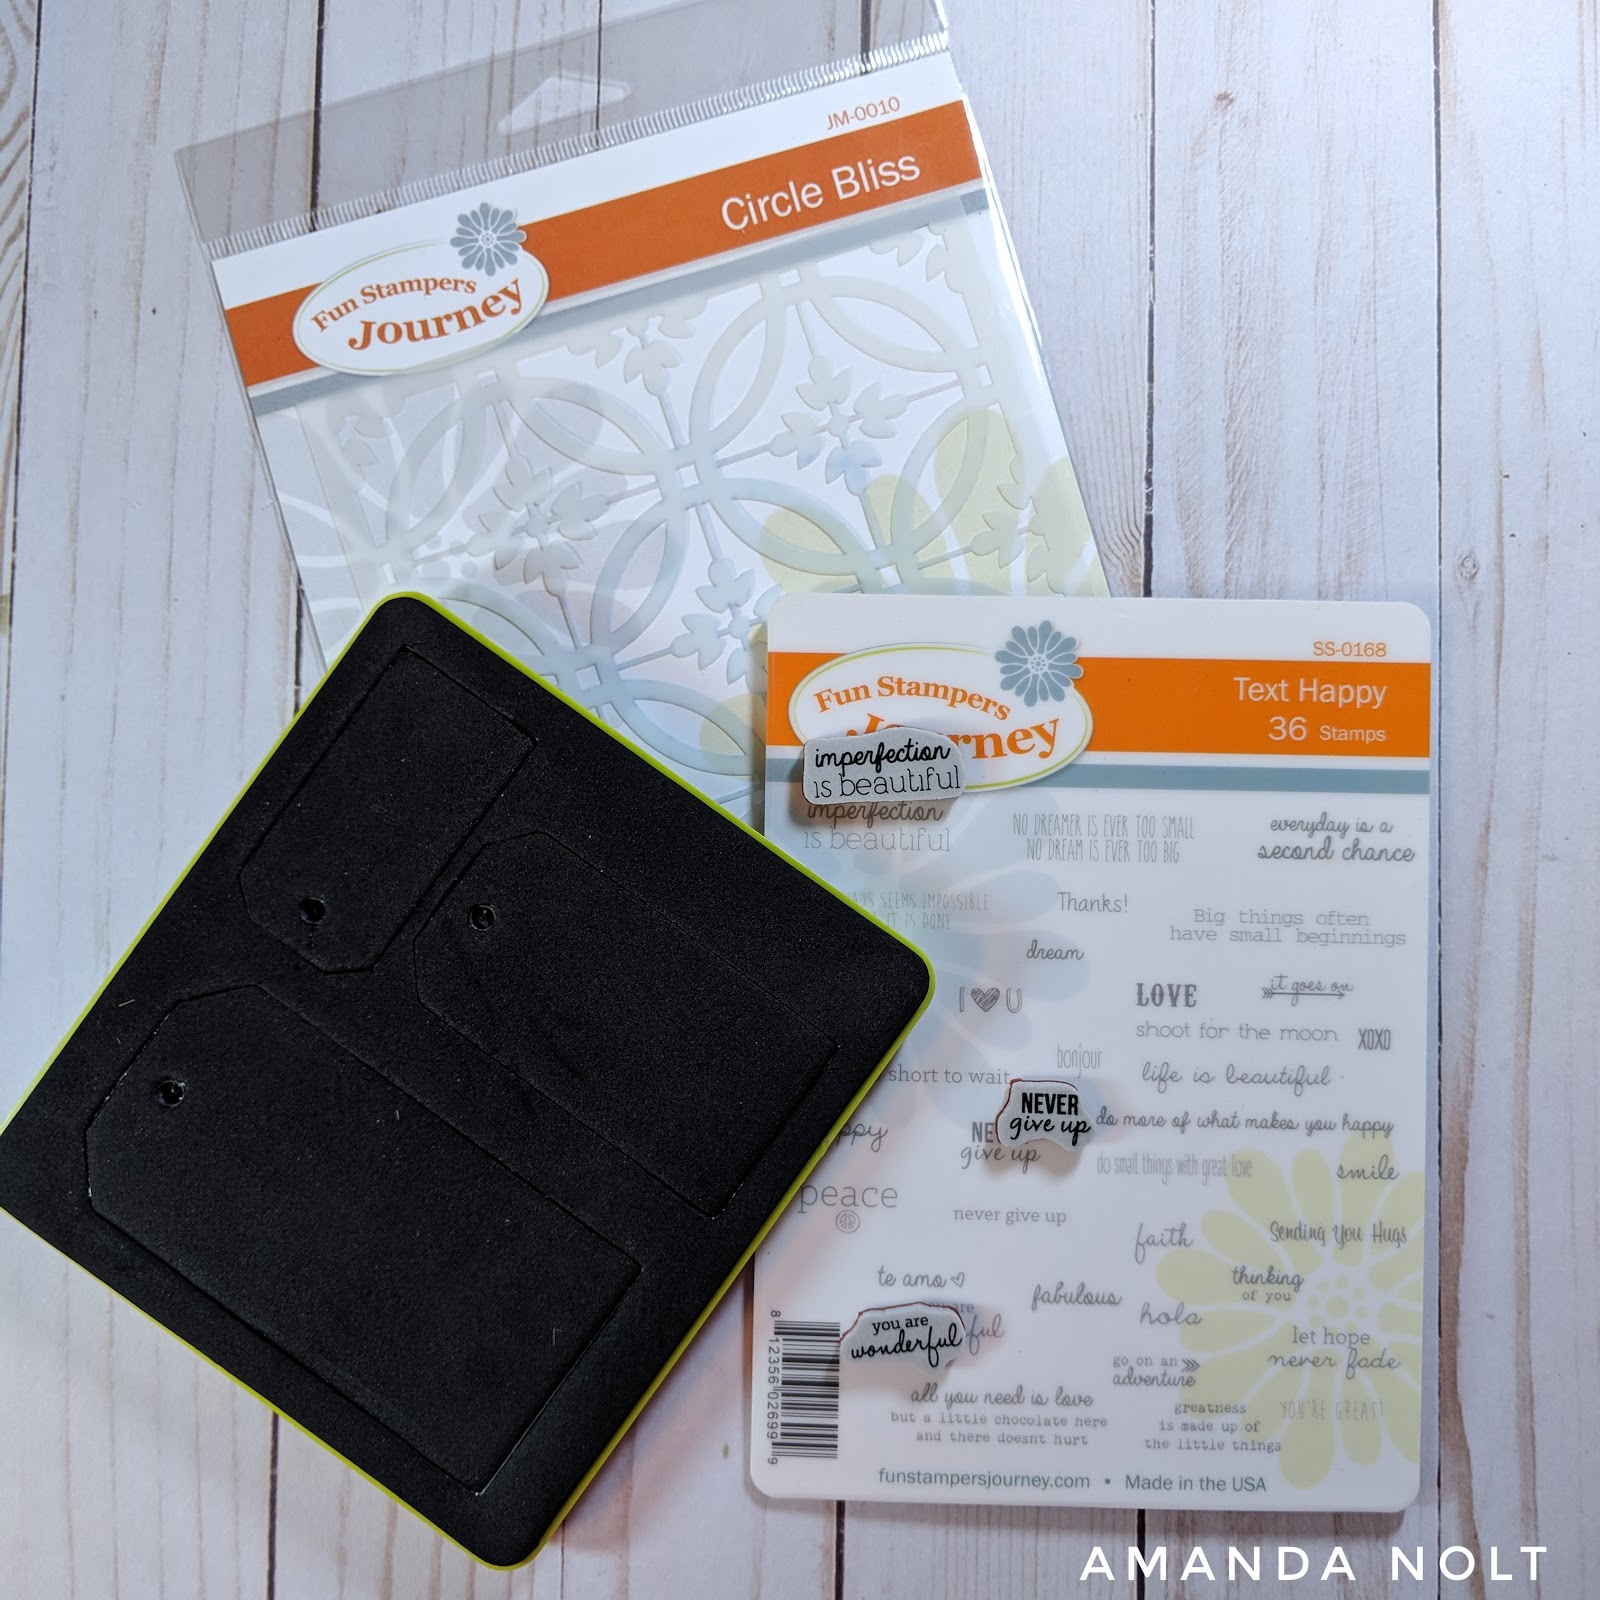
The largest tag had the floral side as a base. I worked on the flower first. I used the smallest flower and largest burst from the (Romantic Bloom Die Set). The flower was ButterCream card stock which I then layered by daubing Pool Play True Fusion ink. I then laid the Circle Bliss stencil on top and daubed on Huckleberry Fusion Ink. Distressed the sides with the same ink. I did the same inking techniques with a small Buttercream rectangle (Journey Rectangle Die Set). Then stamped Imperfection is Beautiful (Happy Text Stamp Set) using Huckelberry Fusion Ink. 


Curled the flower petals and little stems of the burst. Glued the burst to the center of the flower and set aside. I used Limeade Splash cardstock and Bloom Cluster die to create the lovely greenery element. I trimes what was needed and glued the pieces to the base. 
Then, used the Circle Bliss stencil and daubed on Huckleberry Fusion ink giving a gradiation of color in the corner of the tag.
Glue the remaining elements in place and splattered Sparkle Silk on to the face of the tag.


Thank you so much for visiting my craft nook! I hope enjoyed the featured project! Comment below with how you would use the tags! 

Tuesday, August 14, 2018

Hello, Welcome to my Craft Nook

Hello,

I am Amanda Nolt, the Crafty Ladybug and WELCOME to my craft nook!


I am follower of Christ, an Independent Fun Stampers Journey Coach, a wife, a mom of two little girls, an artist, a crafter and now a blogger?? I thought I'd join the blogging crowd and see where this journey takes me. I am by no means a writer and my grammar is nothing to envy. BUT! I can create, take pictures and give you quick tutorials. With the hope to inspire you to put down your device and pick up a stamp, paint brush, or even some silks!

LET'S GET CRAFTY!!!

I mentioned above that I am an Independent Fun Stampers Journey Coach...
Check out my replicated website to find some crafty fun.
www.funstampersjourney.com/thecraftyladybug86

Keep up to date with promotions (yep there are SALES each month) by following me on

TheCraftyLadybug86inHerCraftNook (group)

Instagram: @thecraftyladybug86 

Pinterest: Amanda Nolt 678 Independent Fun Stampers Journey Coach

Leave me a comment! Say hello and what is your favorite craft medium??

A mess out of chaos

I find myself staring at the mess before me.... I find myself in the middle of a mess wondering where that stamp went to or t...