Hello!! It's Amanda, the Crafty Ladybug and Welcome to the Craft Nook!!
One of my favorite techniques is "masking off". Its rather simple but requires some prep work.
Stamp the desired image onto a post it note or copy paper.
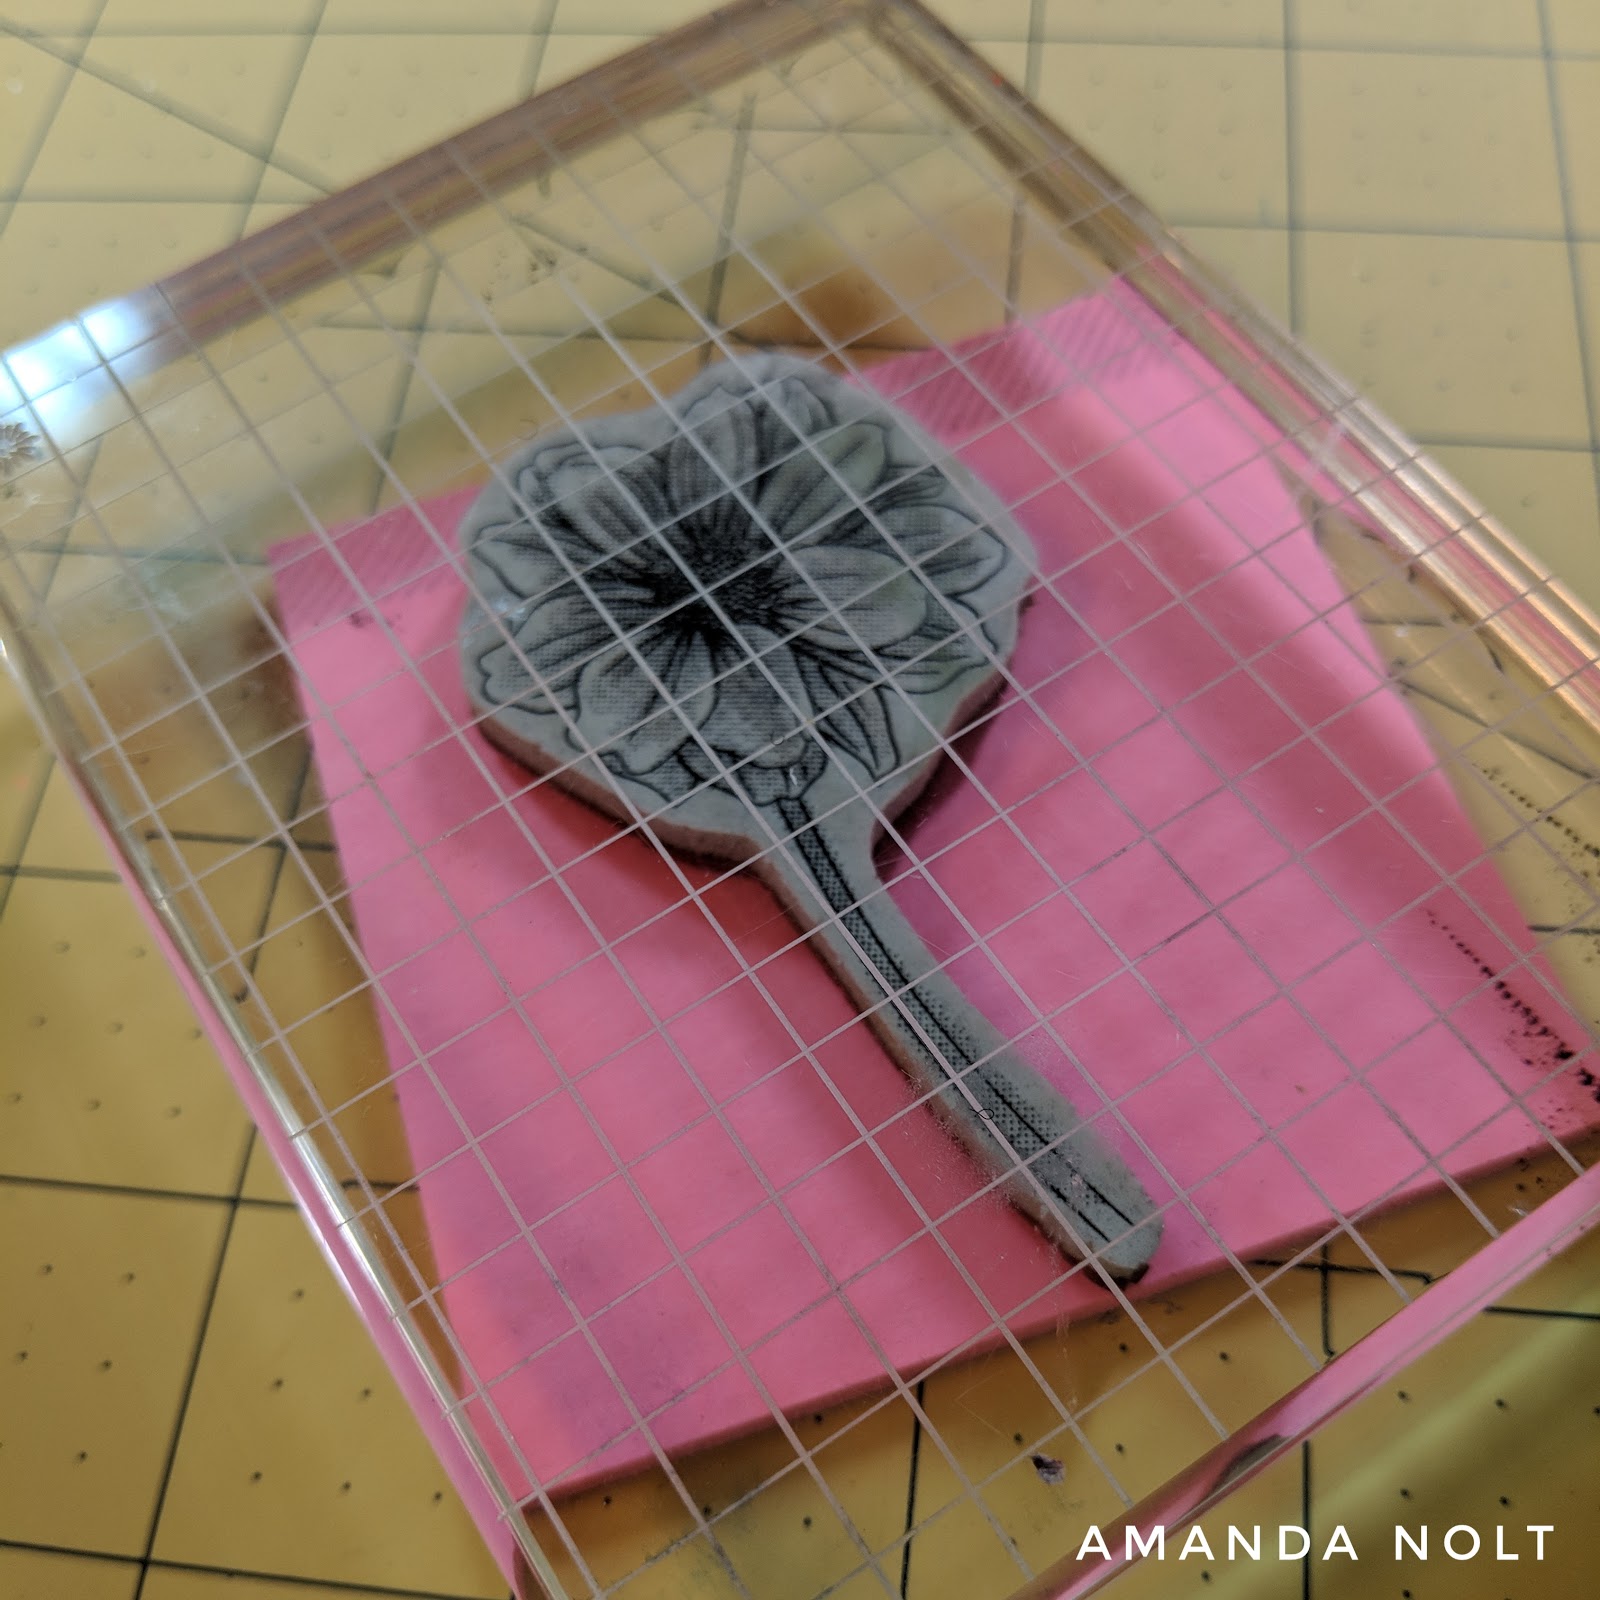
Fussy cut the image out. (The closer to the outside line the better). Depending on your project you may need more than one "masked image".
Note... If you didn't use paper with a sticky back a glue dot or washi tape rolled up on will work. Remember the masked images are temporary and will need to be removed.
Then you are ready to work on the actual project.
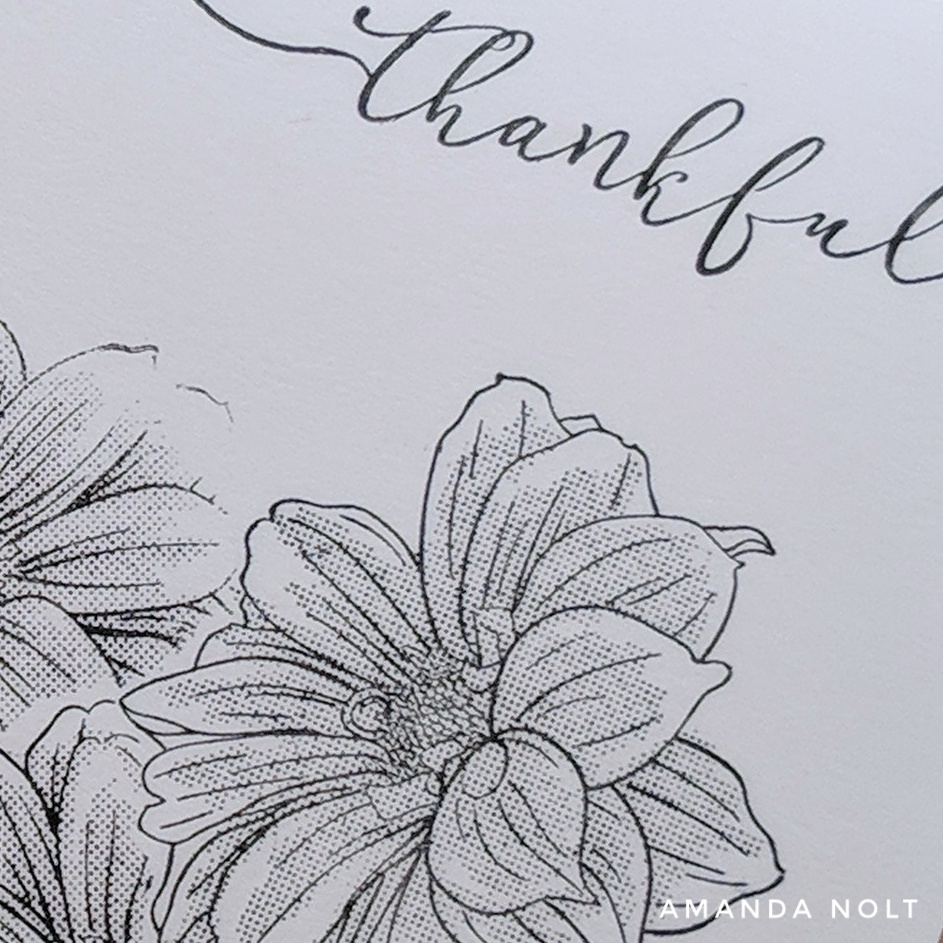
For starters I picked the Cottage Bouquet stamp set. Daises are a favorite of mine and I couldn't resist creating a small field of them.

Black and white was on my mind but one could easily add color.

Black and white was on my mind but one could easily add color.
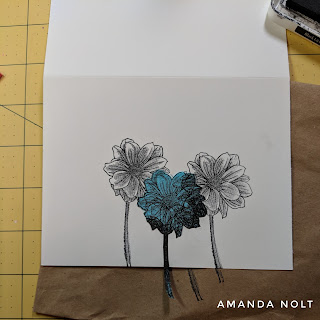
I tend to begin stamping somewhere off centered.
Stamp the image...

Then place the mask on top of the first image.
**Lining up the images is necessary if you want crisp edges...

Once the mask is in place then stamp another image.

Stamp the image...

Then place the mask on top of the first image.
**Lining up the images is necessary if you want crisp edges...

Once the mask is in place then stamp another image.

Repeat this process and move masks where and as needed...


Pace yourself and think the layout through. ;-)


Pace yourself and think the layout through. ;-)
Masking off gives a sense of depth to your piece. The overlapping of images lets the eye believe that objects are staggered on the page. Items are in front of one another. An easy way to create depth without adding extra layers...


Oh and keep those masked pieces! They maybe covered in ink but you can so use them again!!


No comments:
Post a Comment